1995 to 2005 International Instrument Cluster Repair
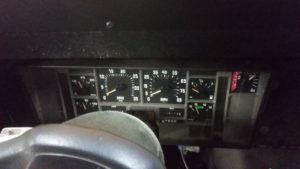
If you have owned an mid-90’s to 2005 International school bus than most likely you have watched your instrument cluster work one minute and then go completely blank the next minute. Some days it will seem to work just fine and other days it will not work at all.
If you have ever priced out a new instrument cluster than you probably had to be picked up off the floor after hearing the price. The whole cluster can be $600 or more and just the printed circuit board is over $400. For most of us I would imagine that this is just not an acceptable price to pay. Here is a fix that I have learned after researching this well known problem.
I would say that 80 to 90 percent of the time doing the following will get your instrument cluster back up and running for under $10 and about 30 to 45 minutes of your time. Occasionally, there will be the few that are just beyond repair, but if you instrument cluster seems to function correctly when it is working than this fix should work.
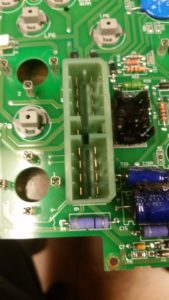
The problem seems to be the connector on the back side of the instrument cluster. It doesn’t typically look loose or broken, but where the pins of the connector solder into the circuit board there is a bad connection somewhere. If you heat each pin up and put some fresh solder around the pin there is a good chance you will have just saved yourself $600. Even if you had to go out a purchase a soldering iron and some solder you won’t be out very much at all.
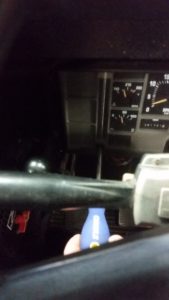
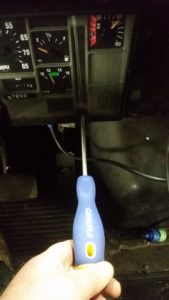
Remove the two lower screws from the bottom of the instrument cluster and pull the instrument cluster loose from the dash.
Disconnect the three wire plugs from the back of the instrument cluster and if you have air brakes or air ride you will need to disconnect the air lines from the air gauges. This will be a tight fit to get your hands in there but it can be done. Make sure to mark the wires and air hoses so you know exactly where they came from. The wires should only plug back into one spot but the air lines can be mixed up very easy.
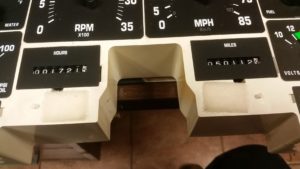
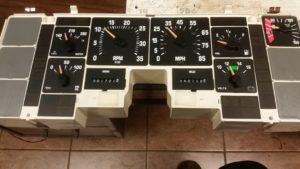
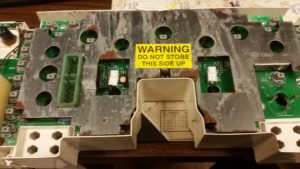
Once it is removed from the bus set it on your workbench or table face up. On the top you will see three screws. Remove these screws and then remove the black plastic cover from the front. The bottom of the cover is held in place by two pieces of Velcro. See photo below.
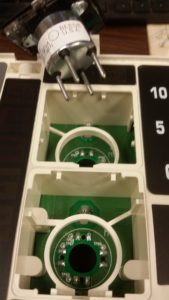
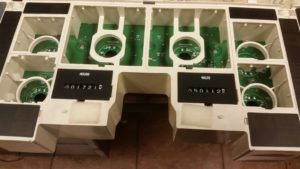
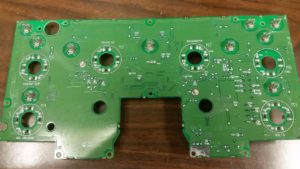
Now that the front bezel is off, you will need to remove the following gauges: Oil Pressure, Temperature, RPM, MPH, Fuel, and Volt gauges. If you look on the back side of the instrument cluster opposite of the front of the gauges you will see a half inch size hole right in the middle of the circuit board. Use a small round object and push the gauge out and through the top of the instrument cluster. Sometimes the black gauge covers that have the numbers on them will come loose and will need tacked back down in place with a dab of super glue. It doesn’t take much to keep it in place. Do not remove the needles from the step motors. Doing so will cause the needles to be in the wrong spots. Set the gauges aside in a safe spot being careful not to jar them around. Remember where each gauge goes so you don’t get them mixed up when reinstalling them. Sometimes it can be helpful to take a picture with your phone so you make sure you return them to their rightful spot.
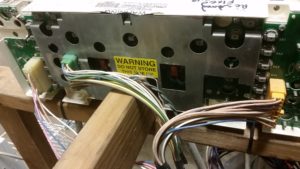
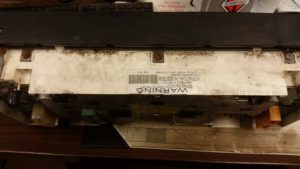
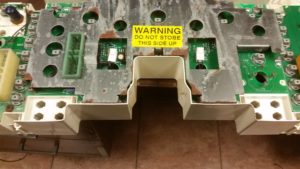
Once all the gauges are removed flip the instrument cluster so that it is face down and remove the metal cover on the back. You should have to remove 6 screws. Once you have the screws removed you should be able to lift the metal cover off the circuit board. There should now be two remaining screws in both top corners of the center circuit board that will need removed. You will also have to unplug two wires. One is for the hours meter and the other is for the odometer. Feed the two wires through the circuit board and remove the circuit board from the rest of the instrument cluster.
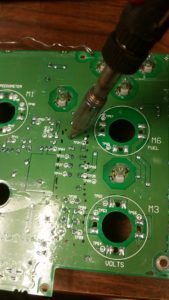
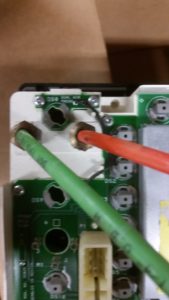
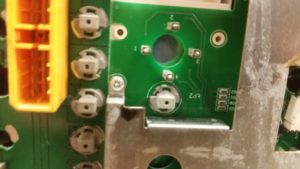
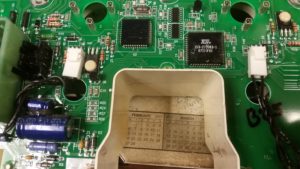
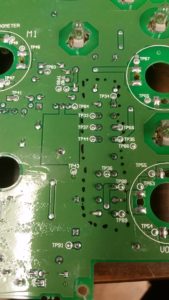
Now that the circuit board is removed it is time to re-solder the connections for the main plug. The pins that you want to re-solder will be the ones opposite of the pins in the green plug on the back side of the circuit board. It doesn’t take much to re-solder them. Heat them up with a soldering iron and then once hot add a tiny bit of new solder and then move on to the next one. If you look in the picture below I have used a sharpie to make a dotted line around the pins that you should re-solder.
Once you have re-soldered everything put it all back together in the reverse order of taking it apart and then re-install it back into the bus. Hopefully this will take care of your Intermittent International Instrument Cluster.
