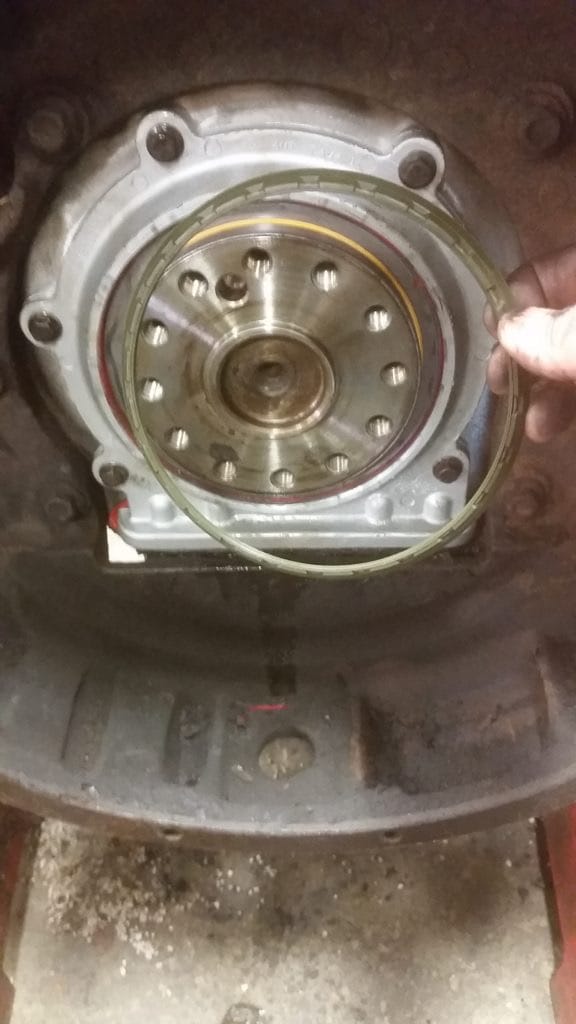
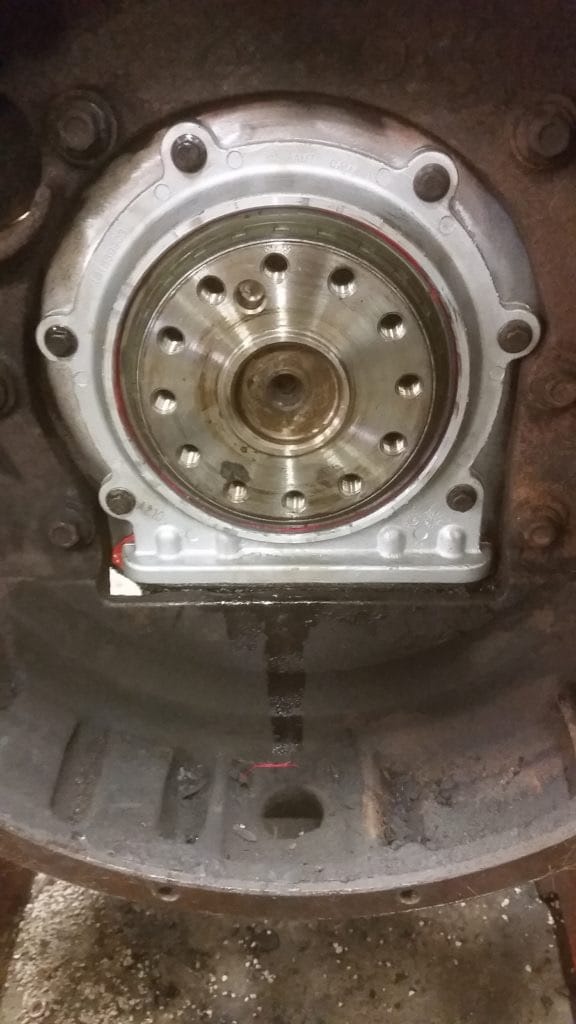
DT466 Rear Main Seal
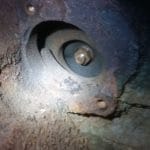
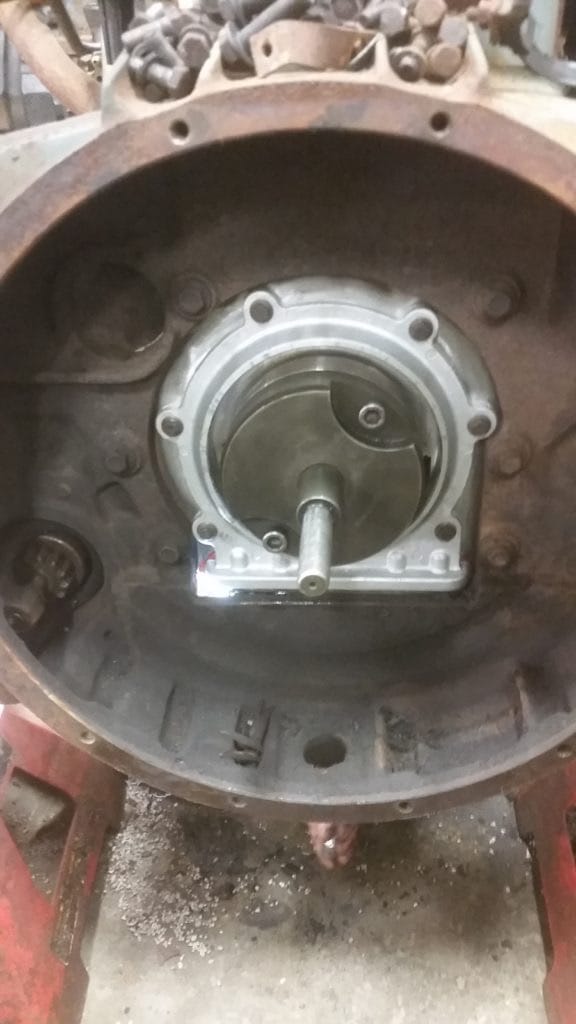
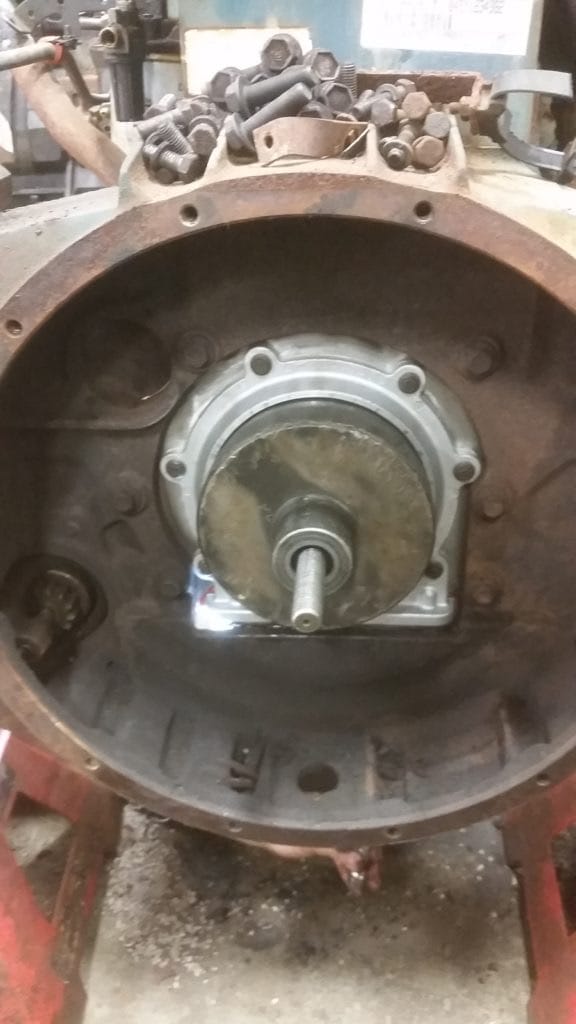
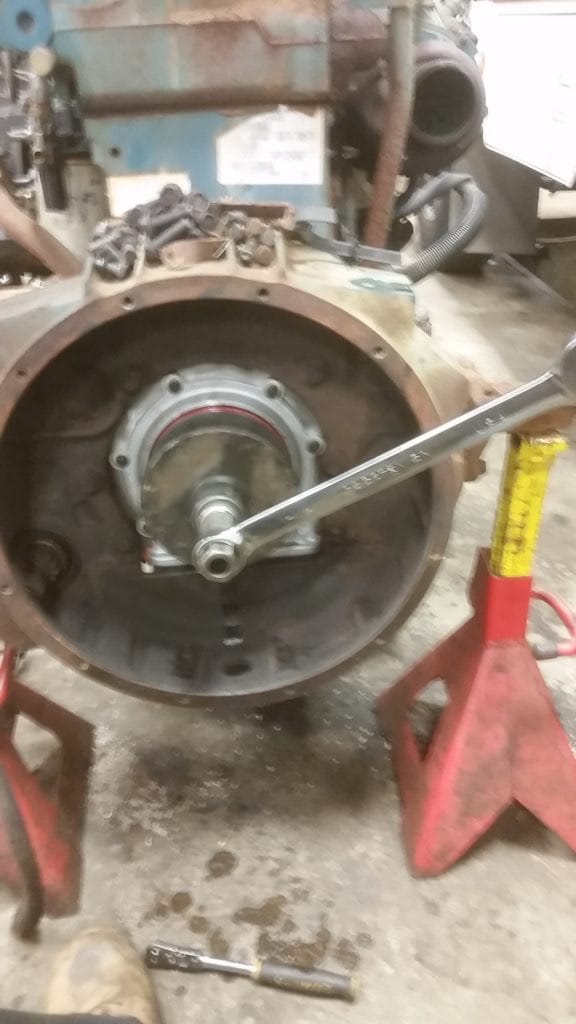
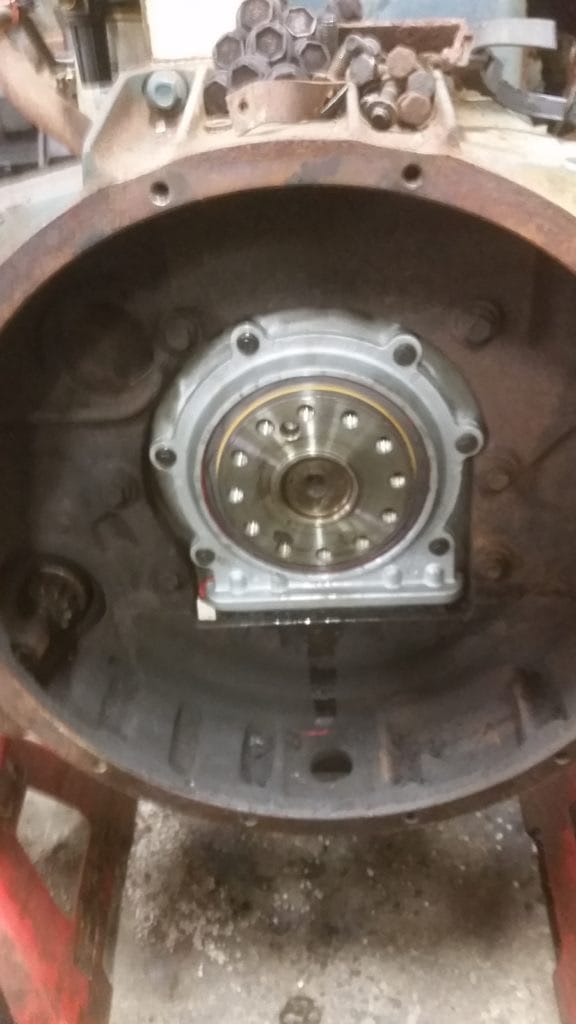
 Occasionally, you will get an engine that is dripping oil pretty consistently from the rear of the engine. It could just be a leaking oil pan gasket or a leak higher up that you will want to check. If the leak is not from the oil pan gasket or further up the engine then it very well may be your rear main seal. As you can see from the picture on the left, there is oil leaking from the seal around the crankshaft. This job is a little more intense, but it can be done. It will require the use of a special tool to install the seal. If you have a good relationship with your local international dealer they may rent or loan you the tool. I have seen the tool online for as low as $350. The International version of the tool is probably going to be several hundreds more. Price it out and find the best deal. The part number for the tool is ZTSE2535C. If you have trouble locating the tool give me a call or send me an e-mail and I am sure we can figure something out.
Hear is what I went through to get my main seal changed—steps to changing your rear main seal.
- Pull the driveshaft off from behind the transmission.
- Disconnect everything externally from off the transmission. (hoses, shift cables, wires etc)
- Remove engine cover from inside the bus.
- Remove inspection cover to reveal the torque converter bolts or nuts. This is located on the front side of the bell-housing on the drivers side right above the starter.
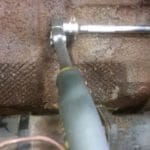
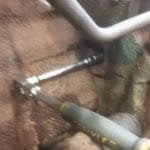
- Remove the six torque converter bolts or nuts (if bolts hold on your torque converter than it will be a 15 mm; if nuts, than it will be a 14 mm). I have taken a socket and epoxied a small strong magnet into the base of it to help hold the nut or bolt so that it doesn’t fall into the transmission housing. While taking the transmission off this is not as big of a concern, but certainly when putting the transmission back on you don’t want to drop anything inside and end up taking the transmission back off to get whatever you dropped. I also put the socket on a locking extension that keeps the socket from coming separated from the extension. Take out the bolt or nut and then with a socket and ratchet on the front harmonic balancer rotate the engine until you can see the next bolt or nut through the hole. Proceed until you have all six out.
- Put a jack under the transmission and tie it down. Remove all the bolts holding the transmission to the engine.
- Pull the transmission away, then slowly lower it, and get out of the way.
- Mark with a paint marker the orientation of the flexplate, spacers, flywheel, and crankshaft.
- Remove the bolts holding the flexplate, spacers, and flywheel to the crankshaft and set them aside.
- Remove the six bolts from the face of the rear main seal carrier.
- Remove the four rear-most oil pan bolts.
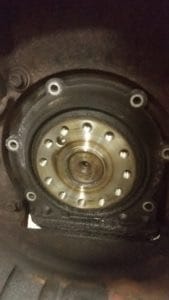
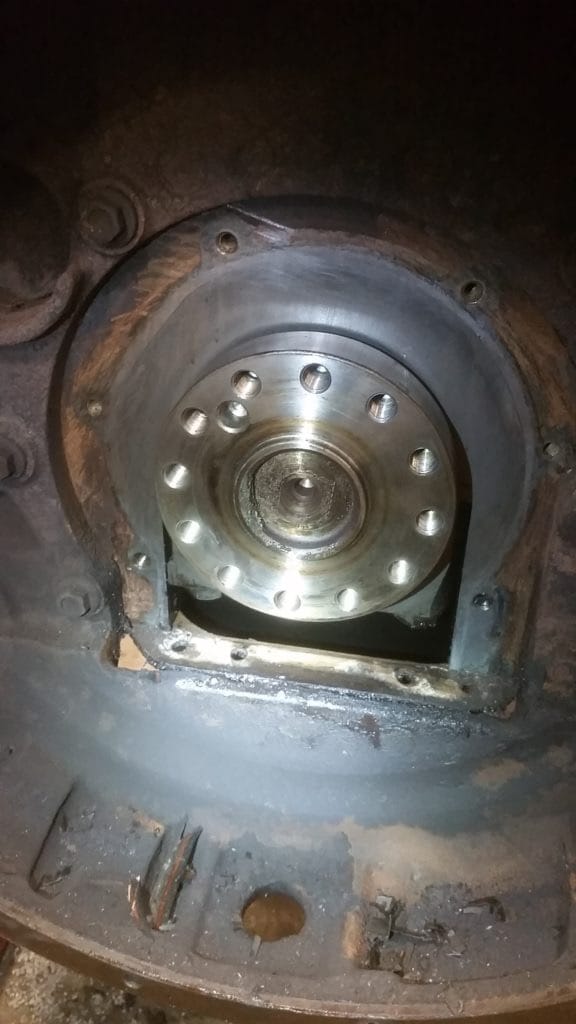
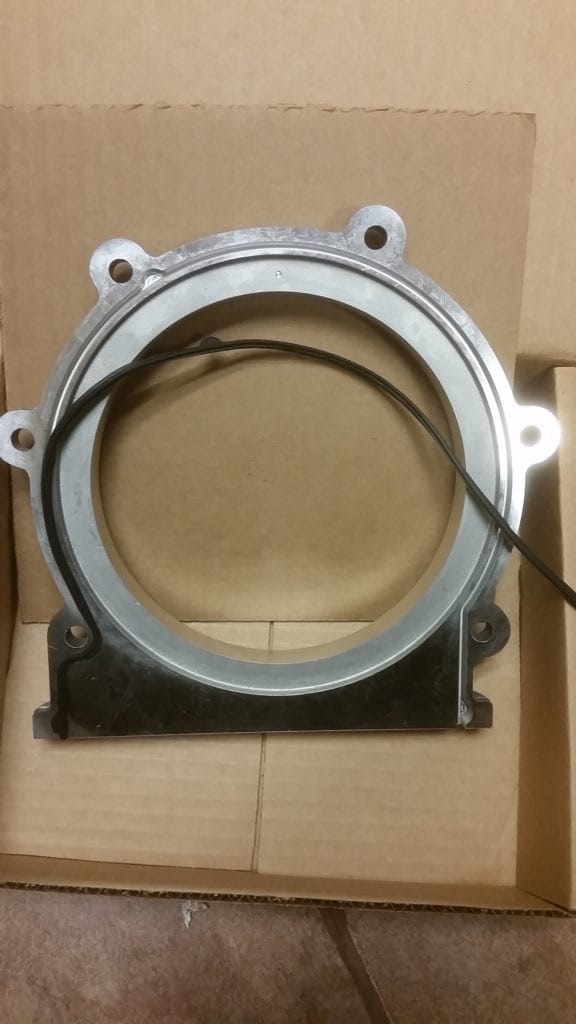
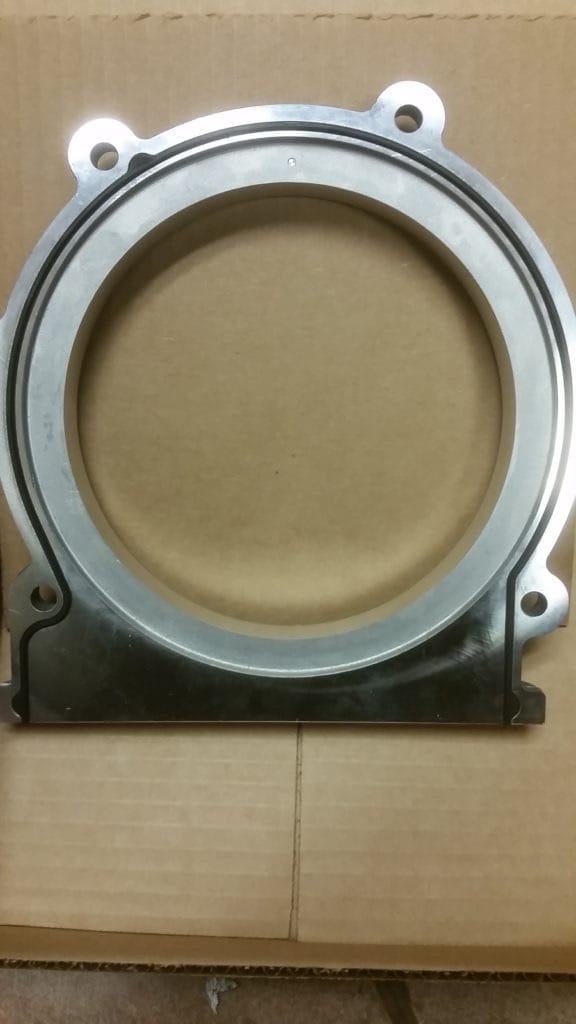
- Remove the old rear main seal and carrier.
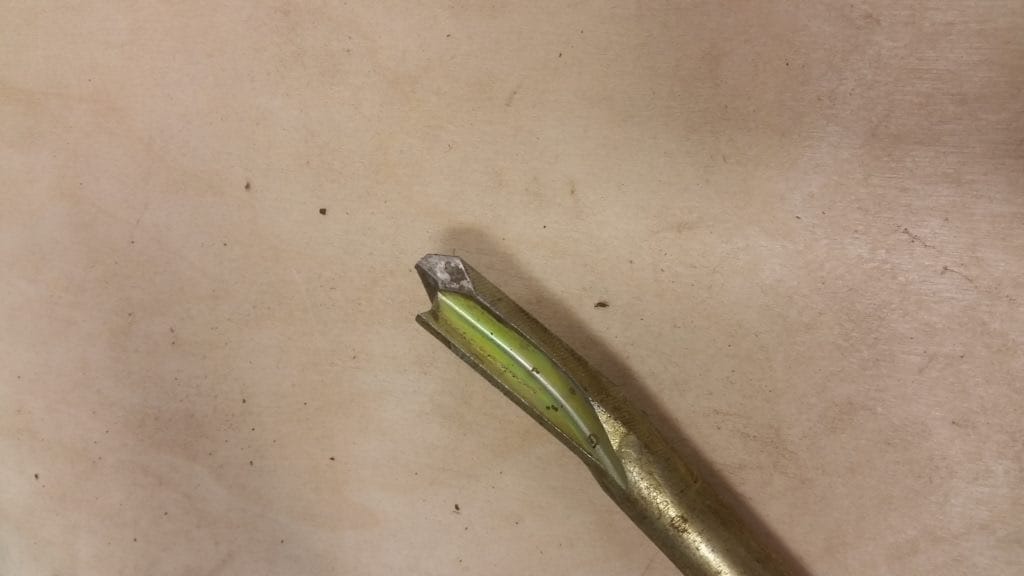
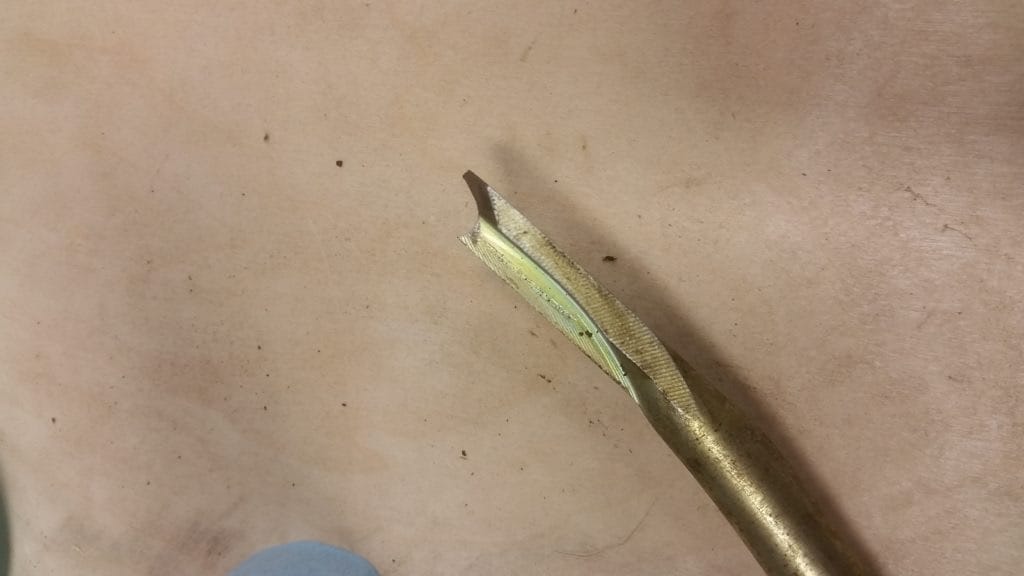
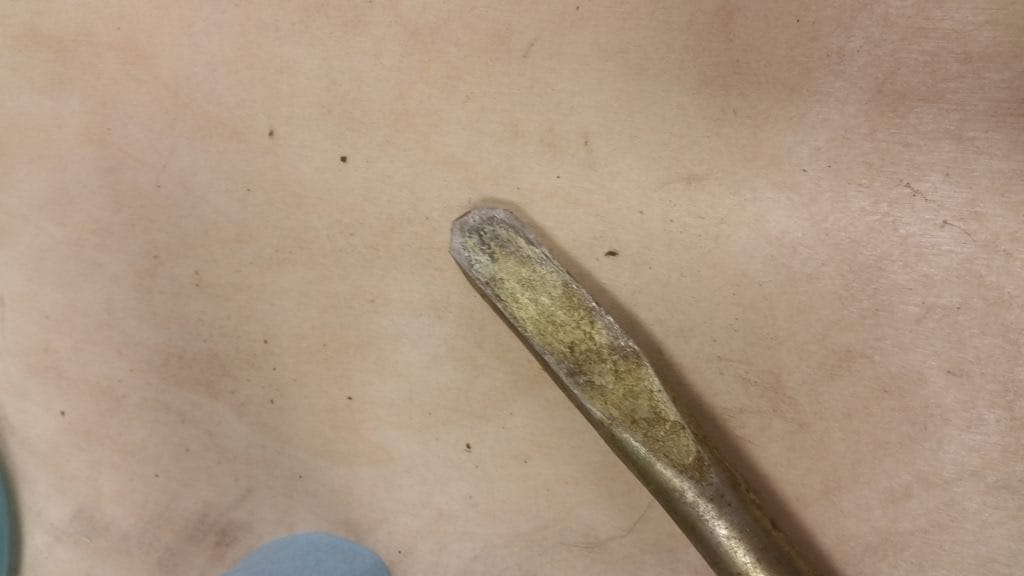
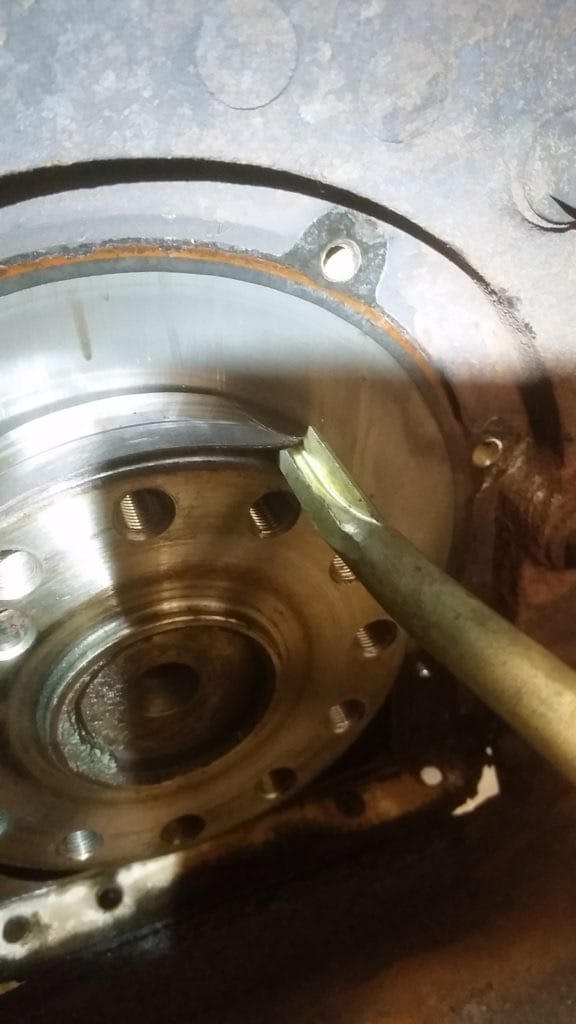
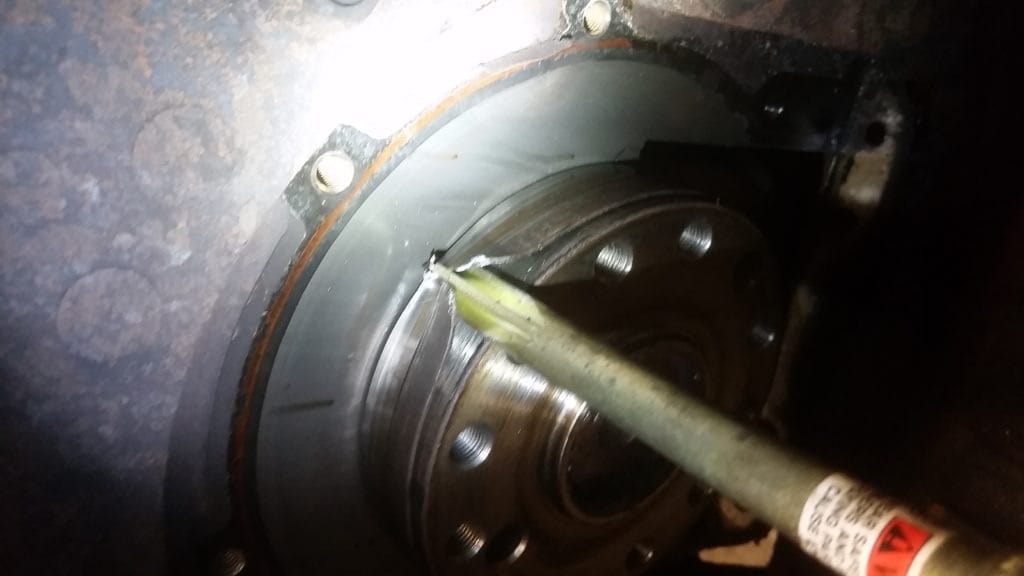
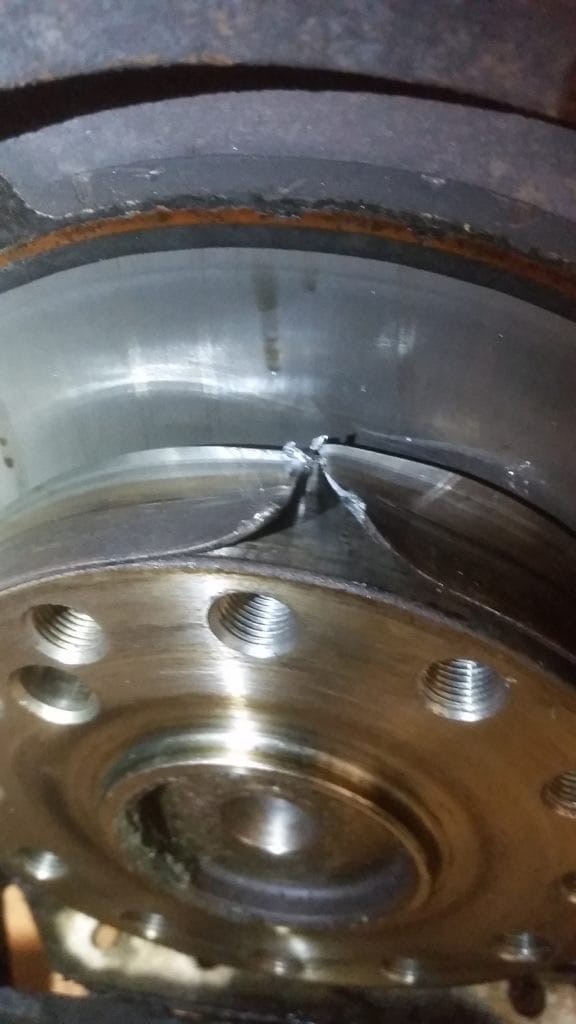
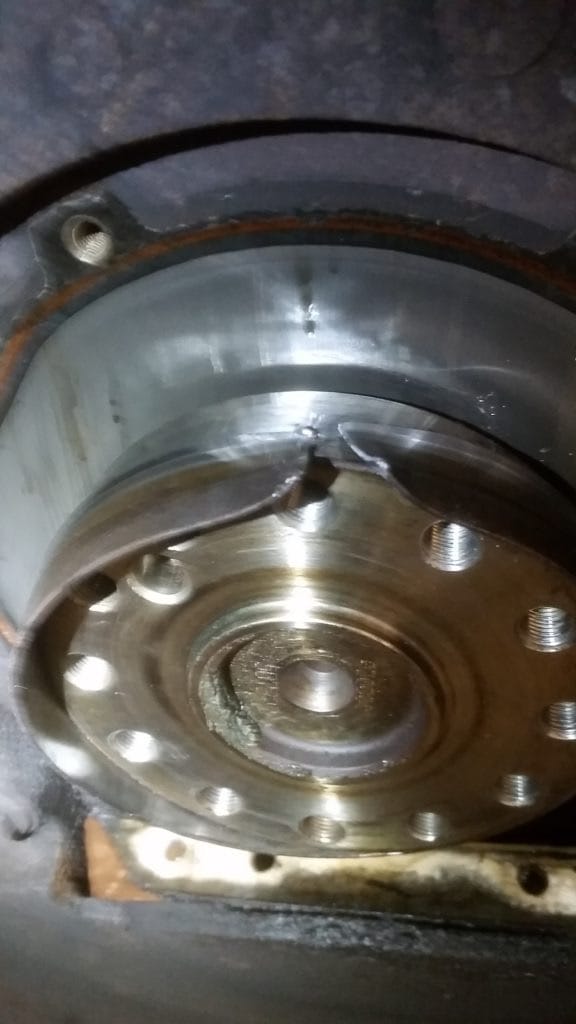
- Use a muffler chisel and remove the wear ring from off the crankshaft. Be careful not to scratch up and mar the surface of the crankshaft.
- Clean mating surfaces between the block and seal carrier.
- Install the new gasket on the rear main seal carrier.
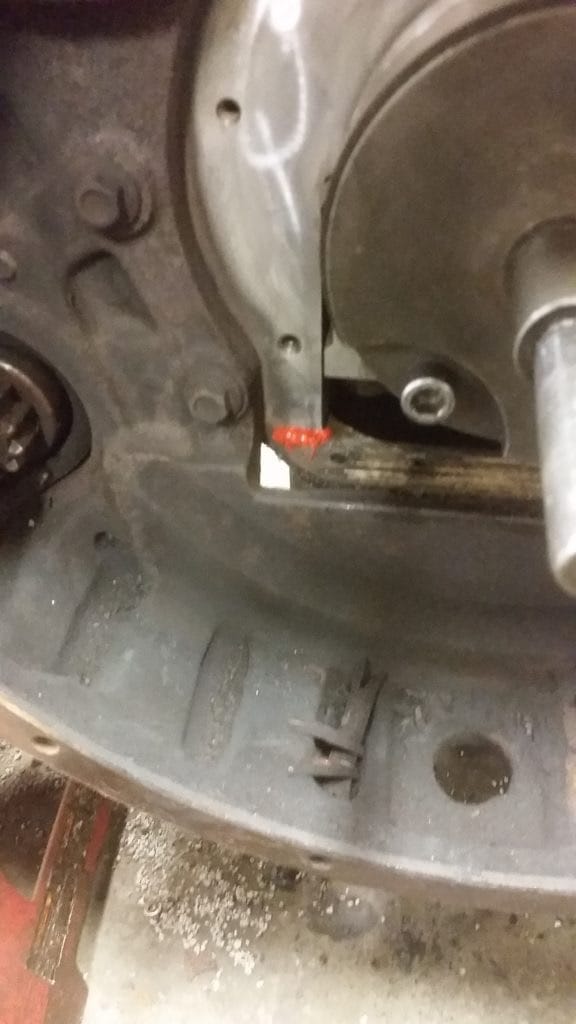
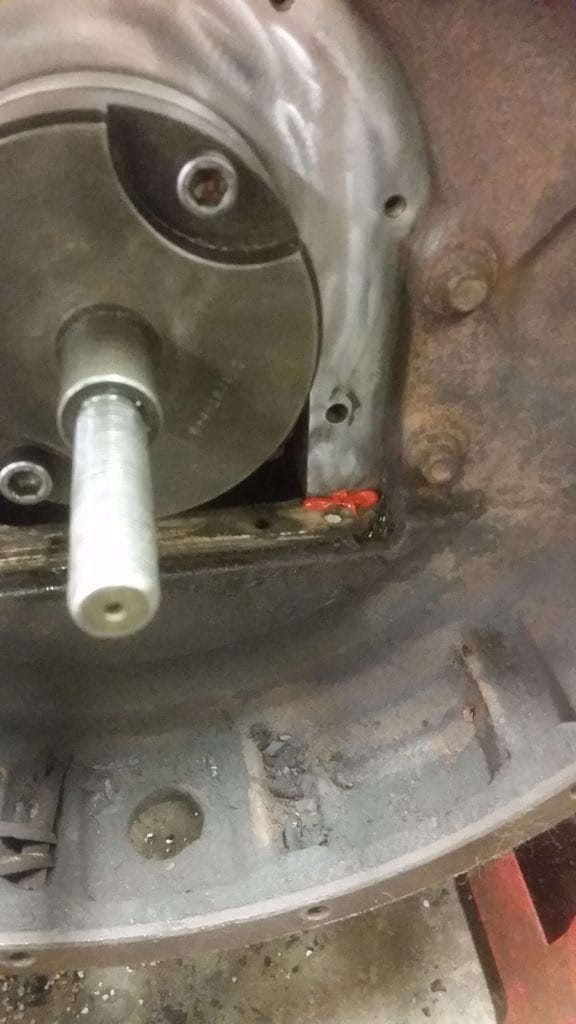
- Install new seal carrier making sure the bottom is flush with the bottom of the block. I put a small amount of gasket sealer on the bottom to make sure it seals at the seams.
- Once aligned correctly, tightened bolts down to 24 ft lbs. Do the same for the four oil pan bolts.
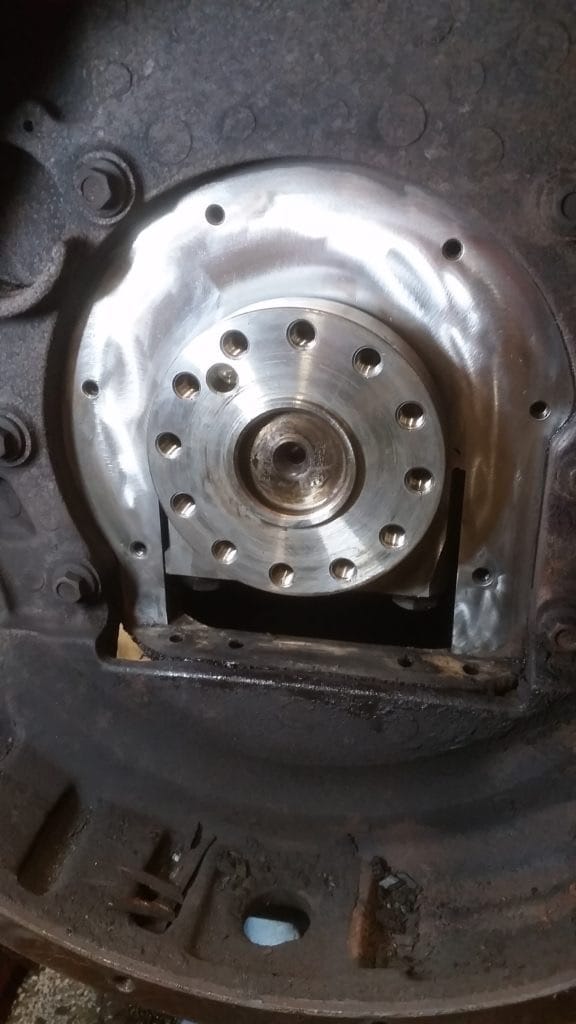
- Install rear main seal and wear ring together at the same time with a specialty tool—Part number ZTSE2535C. Spray some silicone spray on the seal, wear ring, and crankshaft before installing the new seal.
- Replace everything in the reverse order. Flywheel bolts need torqued down to 100 ft. lbs.
- Replace the transmission and don’t forget about the torque converter bolts or nuts.

